
Key Takeaways
- An annual geyser safety inspection catches small faults like a weak earth or a seized valve before they become a shock, a burst tank, or a scald.
- The check covers four areas: the electrical side (earthing, RCCB, wiring), the pressure valve, the tank and element, and the thermostat setting.
- You can safely do the visual and simple checks yourself; anything involving opening the tank, testing wiring, or replacing parts belongs to a professional.
- The best time is just before winter, when the geyser starts working hardest and any weakness shows up fastest.
- Keep a short written record each year so you can see wear building up rather than being surprised by a sudden failure.
A shopkeeper in Indore once told me his geyser had “never given a problem in eight years,” and that was exactly what worried me. When I checked, the earth wire had corroded through and the pressure valve was painted shut. A yearly inspection would have caught both, which is why this simple habit is one of the most valuable parts of water heater safety.
Let me take you through a full annual check the way I run one on a service visit, so you know what to look at yourself and where to bring in a professional.
Why an Annual Check Matters
A geyser fails slowly, not suddenly. Earth wires corrode, valves seize, thermostats drift, and scale creeps onto the element over months. None of it announces itself until the day it becomes dangerous.
A once-a-year look is how you stay ahead of that quiet wear. It turns a possible emergency into a small, planned repair, and it is far cheaper than replacing a tank that has burst or rusted through.
When to Run the Inspection
The best time in most of India is early winter, just before the geyser goes from occasional use to daily heavy duty. A tired thermostat or a weak element will reveal itself fastest under that load.
Pick a fixed month and tie it to something you already remember, so the check does not slip. Diwali cleaning season or the first cold morning both make natural reminders.

The Four Areas to Inspect
I break every inspection into four areas. Working through them in order means nothing gets missed.
1. The electrical side
This is where the shock risk lives. Check that the earth wire is intact and firmly connected, press the RCCB test button, and look over the switch and cable for browning, warmth, or a burnt smell. A firm geyser earthing connection is the single most important item on the whole list.
2. The pressure release valve
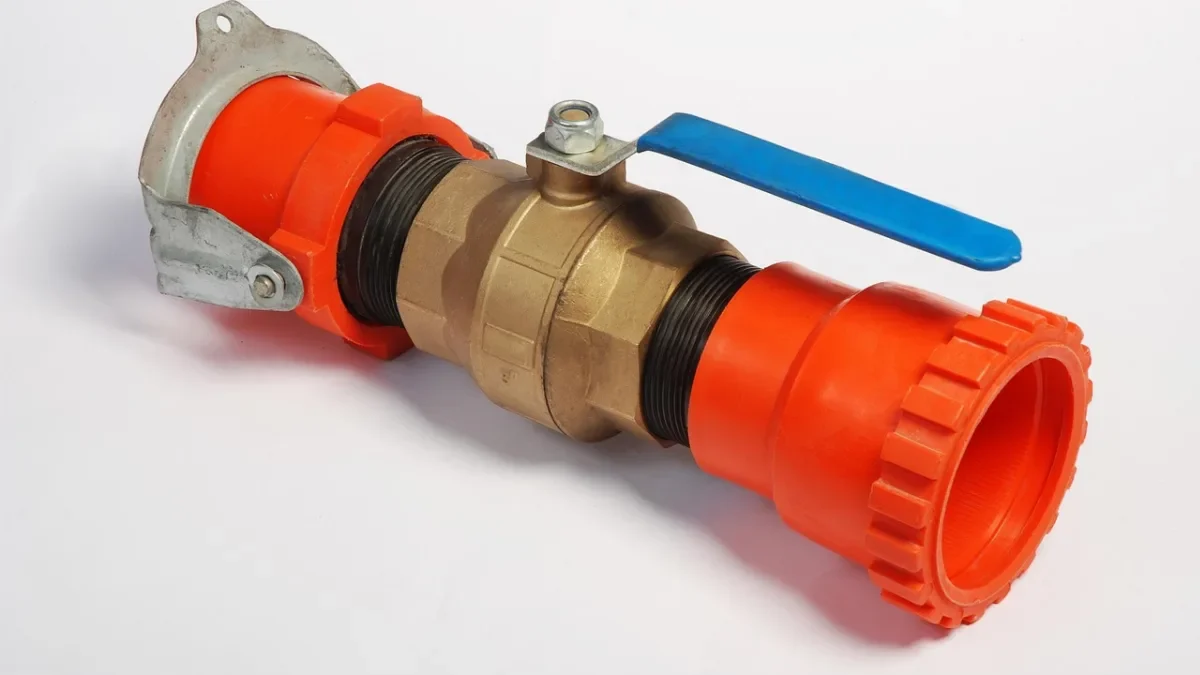
This valve is what stops a tank building dangerous pressure. Confirm it is not painted over, blocked, or seized, and that its outlet is clear. A stuck pressure valve is one of the most overlooked dangers I find.
3. The tank and element
Look for rust streaks, damp patches, or drips around the tank and its fittings. Slow heating, discoloured water, or a rumbling sound points to scale on the element, which a professional can descale or replace.
4. The thermostat setting
Confirm the dial sits around 55°C to 60°C rather than the maximum. Scalding water on a low setting, or a geyser that trips its cutout, means the thermostat needs testing before winter demand exposes it.
| Area | What to look for | Do it yourself or call a pro |
|---|---|---|
| Electrical | Earth intact, RCCB trips, no burnt smell | Visual by you, testing by an electrician |
| Pressure valve | Not seized, painted, or blocked | Look yourself, replace with a pro |
| Tank and element | No rust, no drips, no rumbling | Descaling by a technician |
| Thermostat | Set 55-60°C, no scalding or trips | Testing by a professional |

Your Step-by-Step Annual Check
Here is the order I follow. The first steps are safe for any homeowner; the later ones flag when to hand over to a professional.
- Switch the geyser off at the MCB before you inspect anything closely.
- Look over the switch, cable, and connection box for browning, cracks, or a burnt smell.
- Check the earth wire is present and its connection is tight, not corroded or loose.
- Switch the MCB back on and press the RCCB test button; confirm it snaps off at once.
- Inspect the tank body and all fittings for rust, damp, or drips.
- Check the pressure release valve is free to move and its outlet is clear.
- Confirm the thermostat is set to a safe 55-60°C, not the maximum.
- Note anything doubtful and book a technician for descaling, valve, or thermostat work.
Warning: Never open the tank, remove the element, or test live wiring yourself. Always switch off at the MCB before inspecting, and leave anything inside the tank or behind the terminals to a qualified person. Inspecting is a look-and-note job, not a chance to start dismantling a live, water-filled appliance.
What to Leave to a Professional
A good inspection knows its own limits. Hand these tasks to a licensed electrician or a trained technician every time.
- Testing or repairing the earthing and any wiring fault.
- Replacing a seized or leaking pressure release valve.
- Descaling or changing the heating element inside the tank.
- Testing or replacing a drifting or stuck thermostat.
- Fitting an RCCB if the geyser circuit does not already have one.
Pairing your yearly look with a professional service every year or two covers both the quick visual checks and the parts that need tools and training. It also pairs well with a broader geyser safety checklist so nothing slips through.
Keep a Simple Record
The value of an annual check multiplies when you write it down. A short note each year shows you wear building up rather than leaving you surprised.
Tip: Keep a small card taped inside a nearby cupboard with the date of each inspection and service, plus the geyser’s age and model. When you see the same note two years running, like a slightly warm switch, you catch a slow fault long before it becomes a failure.
The safety devices you are checking are built to national norms set by the Bureau of Indian Standards, so an ISI-marked geyser, RCCB, and valve give your inspection something dependable to check against.
Frequently Asked Questions
How often should a geyser be inspected?
Run a visual and simple safety check once a year, ideally just before winter when the geyser works hardest. Pair that with a professional service every one to two years for descaling and part testing. In hard-water areas or with an older geyser, lean toward the more frequent end, since scale and corrosion build up faster there.
Can I inspect my geyser myself?
You can safely do the visual and simple checks: look at the switch and cable, confirm the earth wire is connected, press the RCCB test button, check for rust or drips, and read the thermostat setting. Anything that means opening the tank, testing live wiring, or replacing a part should be left to a licensed professional.
What is the most important thing to check?
The earthing and the RCCB together, because they are what protect you from a fatal shock in a wet bathroom. A firm earth connection and an RCCB that actually trips on its test button are the two items I never let a family skip. After that, the pressure valve is the next most important safety check.
When is the best time to do the inspection?
Early winter is ideal in most of India, just before the geyser moves from light to daily heavy use. Any weak thermostat, tired element, or corroded earth shows up fastest under that load. Tying the check to a fixed reminder, like Diwali cleaning or the first cold morning, keeps it from slipping year after year.
Is a stuck pressure valve really dangerous?
Yes, it is one of the most overlooked risks. The pressure release valve is what stops a sealed tank building dangerous pressure if the thermostat also fails. When it is painted over, blocked, or seized, that safety path is gone. Check it each year and have a seized valve replaced by a technician promptly.
Make It a Yearly Ritual
A geyser rarely warns you loudly before it fails, but it almost always shows small signs to anyone who looks once a year. Give it that yearly hour, note what you find, and bring in a professional for the parts you should not touch.
That single habit prevents most shocks, leaks, and scalds I am ever called out to. For the wider picture, read our water heater safety guide, or browse all our safety guides and put the next inspection in your calendar today.