Key Takeaways
- Installing an electric geyser has three clear stages: mount it level and solid, plumb the inlet-outlet with the safety valve, then wire it on a dedicated, earthed, ELCB-protected circuit.
- Always fill the tank fully before switching on the power, or you’ll burn out the element.
- The wiring and earthing are the parts I insist a licensed electrician handles.
- Blue is cold inlet, red is hot outlet, never mix them up.
- Test everything, including a press-test of the ELCB, before daily use.
An electric storage geyser is one of the more approachable appliances to fit, right up until the wiring. That’s exactly where I see confident homeowners get into trouble: they mount it beautifully, plumb it neatly, then power it off a shared socket with no proper earth. In more than a decade of fitting geysers, I’ve learned the mounting and plumbing reward a patient DIYer, while the electricals reward respect and a qualified electrician. By the end of this step-by-step guide you’ll know how to install an electric geyser correctly, what tools you need, and precisely where to stop and call a pro. It sits under our broader water heater installation guide, so read that first if you want the full picture.
Before You Start: Tools and Prep
Gather everything before you drill a single hole. Stopping halfway to hunt for a fitting is how mistakes creep in.
- Drill machine with a masonry bit sized for your wall plugs
- Spirit level, measuring tape, pencil
- Heavy-duty wall plugs and anchor bolts rated for the load
- Adjustable spanner and a pipe wrench
- PTFE (Teflon) thread tape
- The geyser’s safety valve, inlet and outlet connectors
- A tester screwdriver and insulated tools for the electrician’s part
Confirm the wall is load-bearing, that a dedicated power point and earth are within reach, and that the mains water line has a stop valve nearby. A quick run through our pre-installation checklist here will save you grief later.
One habit worth building: lay every fitting out on a cloth and check the box contents against the manual before you begin. Geysers often ship with a specific inlet connector, a non-return arrangement, and the safety valve, and it’s easy to miss one until you’re mid-job with wet hands. Reading the maker’s diagram for your exact model takes five minutes and saves a return trip to the shop.
Warning: Before touching any existing wiring or an old unit, switch off the geyser circuit at the MCB and confirm it’s dead with a tester. If you’re replacing an old geyser, follow our guide to removing an old water heater safely first.
Step 1: Mark and Mount the Bracket
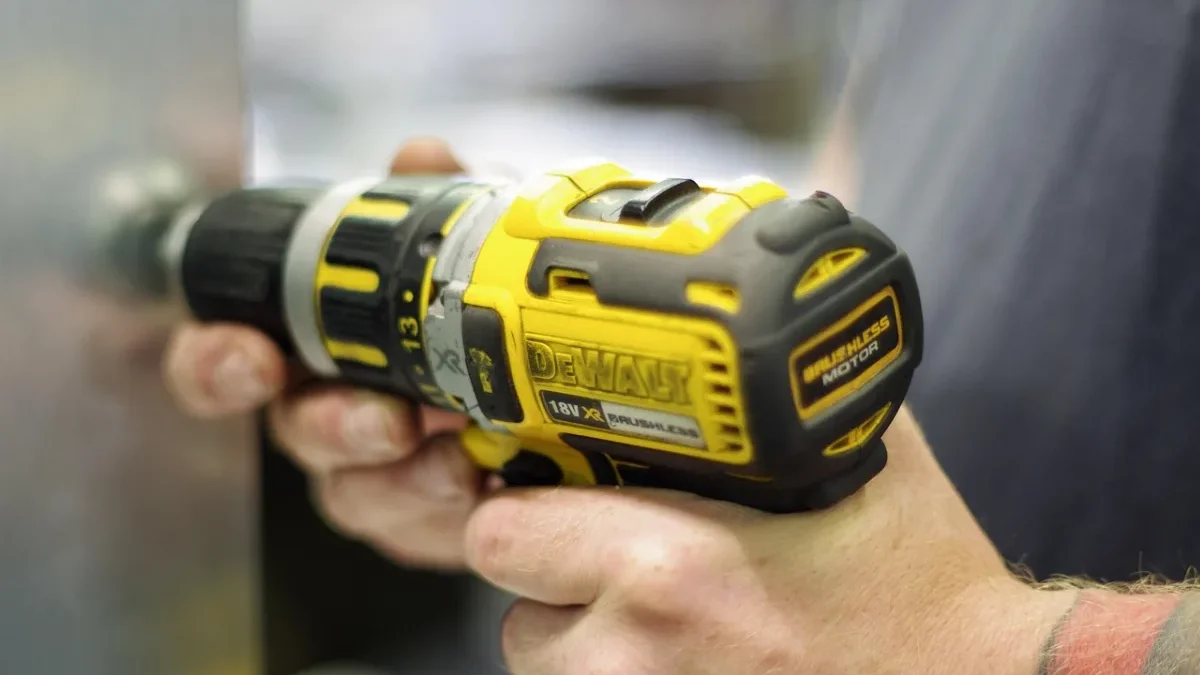
The mounting is the foundation of the whole install. Get it level and rock-solid and everything above it stays leak-free.
- Hold the wall bracket at your chosen height and set it dead level with the spirit level.
- Mark the drill points with a pencil, aiming for solid masonry, not a mortar joint.
- Drill the holes to the depth of your plugs and blow out the dust.
- Tap in heavy-duty wall plugs and drive in the anchor bolts firmly.
- Give the bracket a hard tug. It must not shift even slightly.
Remember a filled tank is heavy, often 40 kg or more on a 25 L unit. The bracket screws that come in the box are frequently too light for a real wall, so I upgrade them almost every time.
Step 2: Hang the Geyser
With the bracket secure, lift the geyser into place. This is genuinely a two-person job for anything above 15 L; don’t try to balance a heavy unit solo on a ladder.
- Line up the geyser’s rear slots with the bracket hooks.
- Lower it on gently and let it seat fully.
- Check it hangs level, both side to side and front to back.
- Confirm the inlet and outlet ports point down and are easy to reach.
A vertical geyser must go the right way up. Fitting it inverted confuses the internal hot and cold draw, and you’ll never get a proper hot supply no matter what else you do.
Step 3: Connect the Plumbing
Now for the water. The golden rule here is colour: blue for cold in, red for hot out. Reverse them and the whole thing fails.
- Wrap the threads of each connector in PTFE tape, three or four snug turns in the tightening direction.
- Connect the cold mains supply to the blue inlet, with a stop valve fitted so you can isolate the unit.
- Connect the hot outlet (red) to the tap or shower line.
- Fit the pressure relief / safety valve on the inlet side as the maker specifies. Do not skip this.
- Hand-tighten, then snug up with a spanner, firm but not so hard you crack the fitting.
That safety valve is non-negotiable. It releases excess pressure if the thermostat ever fails and the tank over-heats. Where I can, I run a small drain line from it so any release goes safely to a drain, not onto the wiring below.
Tip: Fill the tank completely before you go anywhere near the power. Open a hot tap and wait until water runs in a steady, air-free stream. Switching on a dry or half-full tank can destroy the element within minutes and voids the warranty.

Step 4: The Electrical Connection (Electrician Territory)
I’ll be honest with you: this is the stage I hand to a licensed electrician on every job, and I’d urge you to do the same. A geyser combines water, a heavy electrical load, and a bathroom, three things that punish mistakes severely. What follows is what a good electrician should do, so you can check the work is right.
A dedicated, correctly rated circuit
A storage geyser typically draws around 2 kW, so it needs its own dedicated point on a suitably rated MCB, not a socket shared with other appliances. The cable must be thick enough for the load. An under-rated wire on a shared line is a classic cause of nuisance tripping and, in the worst cases, overheated cabling.
Earthing and the ELCB / RCCB
Proper earthing connects the geyser’s metal body to your building’s earth, so that if the element ever leaks current, the ELCB (or RCCB) trips instantly and cuts the supply. In a wet bathroom, this is the single most important safety feature. The electrician should confirm the earth is genuinely live-connected, not just a wire tucked into the box.
- Connect live, neutral and earth to the correct terminals inside the geyser’s junction.
- Verify the earth continuity back to the main earthing.
- Confirm the ELCB protects this circuit and press-test it.
- Never rely on a two-pin plug for a geyser.
Step 5: Fill, Test and First Switch-On
Switch-on is a checkpoint, not the finish. This is where you catch a slow leak or a wiring fault before it becomes a flood or a shock.
- Confirm the tank is completely full and air-free at the hot tap.
- Inspect every plumbing joint under mains pressure for even a small weep.
- Have the electrician verify earthing and press-test the ELCB.
- Switch on and let the geyser run one full heating cycle.
- Confirm the thermostat cuts the element off on its own; it should not run forever.
- Draw hot water and check the temperature is steady and not scalding.
A geyser that reaches temperature, cuts off cleanly, holds heat, and doesn’t trip is a good install. If it trips, drips, or never heats, stop and diagnose before daily use.
What to Do If a Test Fails
Not every first switch-on goes perfectly, and that’s exactly why we test before daily use. Here’s how I work through the three most common failures on a fresh electric install.
- No hot water: nine times out of ten it’s a reversed inlet-outlet. Isolate the unit, drain it, and check that cold really is on the blue side and hot on the red. If the plumbing is right, suspect an unfilled tank or a thermostat set too low.
- A joint is weeping: don’t over-tighten in a panic. Isolate, drain that side, re-do the joint with fresh PTFE tape, and re-test under pressure. A tiny drip today is a stained ceiling in a month.
- It trips the MCB or ELCB on switch-on: switch off immediately and call the electrician back. This usually points to a wiring fault or current leakage, never something to keep resetting and ignoring.
Once it passes cleanly, a little aftercare keeps it that way. In hard-water homes I tell owners to plan a descale every year or two, keep the safety valve clear, and never let anyone paint over or block it. A geyser that’s installed well and serviced on time will quietly outlast the family’s next two phones.
Quick Reference: The Whole Job at a Glance
| Stage | Key action | Who should do it |
|---|---|---|
| Mounting | Level bracket, heavy-duty fixings, load-bearing wall | Careful DIYer |
| Plumbing | Blue in, red out, PTFE tape, safety valve | Careful DIYer / plumber |
| Electricals | Dedicated circuit, earthing, ELCB | Licensed electrician |
| Testing | Fill first, leak check, ELCB test, one cycle | Both, together |
Mistakes to Avoid
Almost every call-back I get on a fresh install traces back to one of these. Knowing them upfront keeps you off that list.
- Reversing the inlet and outlet, so no hot water reaches the tap.
- Using the flimsy box screws instead of heavy-duty fixings.
- Skipping or blocking the safety valve.
- Powering on before the tank is full.
- Running it off a shared socket with no proper earth.
For the full list with detailed fixes, read our guide to the most common water heater installation mistakes. A slow, methodical approach beats a rushed weekend job every time.
Frequently Asked Questions
How do you install an electric geyser step by step?
Mount a level bracket on a load-bearing wall with heavy-duty fixings, hang the geyser, then connect cold to the blue inlet and hot to the red outlet with the safety valve fitted. Fill the tank fully, have an electrician wire a dedicated earthed circuit with ELCB, then test before use.
Can I wire a geyser myself?
I strongly advise against it. A geyser needs a dedicated circuit, correct cable rating, proper earthing and ELCB protection in a wet bathroom, where mistakes can be fatal. Handle the mounting and plumbing yourself if you’re confident, but leave the wiring and earthing to a licensed electrician.
Should I fill the geyser before switching it on?
Always. Fill the tank completely and open a hot tap until water runs in a steady, air-free stream before you connect power. Switching on a dry or half-full tank can burn out the heating element within minutes and will usually void the manufacturer’s warranty.
Which pipe is hot and which is cold on a geyser?
The blue-marked port is the cold water inlet and the red-marked port is the hot water outlet. Connect the mains cold supply to blue and run the hot line from red. Reversing them is a very common error that leaves you with little or no hot water.
How long does it take to install an electric geyser?
A straightforward install where the point and plumbing already exist usually takes a couple of hours for a skilled pair. Add time if wiring, an earth, or a stop valve must be run fresh. Never rush the testing stage, that is where safety is confirmed.
Final Word
Fitting an electric geyser is well within reach for a patient DIYer, as long as you respect the one line that matters: mounting and plumbing you can own, but the wiring and earthing belong to a licensed electrician. Fill before you power on, keep blue and red straight, and test properly, and you’ll have years of reliable hot water.
For more, browse all our installation guides or return to the complete water heater installation guide. To understand the electrical safety devices involved, the Wikipedia article on residual-current devices explains how an ELCB/RCCB protects you.