Key Takeaways
- Replacing a geyser heating element is a genuine repair many confident DIYers can do, but only after switching off at the MCB, confirming the point is dead, and draining the tank fully.
- Buy an element that matches your geyser’s wattage, voltage and flange type exactly; the wrong element trips breakers, overheats or leaks around the seat.
- Never energise the geyser until the tank is completely refilled and air-free, or you will burn out the new element within minutes.
- Under India’s hard water, scale is the usual killer of elements, so descale and check the anode rod while the tank is open.
- If the wiring is doubtful, the earth is missing, or the flange is seized, stop and call a licensed technician rather than forcing it.
In ten years of servicing geysers across flats and independent homes, the failed heating element is the single most common repair I do. The element is a metal rod that sits inside the tank and does the actual heating, and hard water eventually kills it. The good news is that swapping it is a satisfying, learnable job. The bad news is that it sits at the meeting point of water and mains electricity, so respect matters more than speed. This guide walks through exactly how to replace a geyser heating element safely, what to buy, and the honest points where you should put the spanner down and call a professional. If you want the wider picture first, our complete water heater repair guide sets the scene.
How to Know the Element Is the Problem
Before you buy anything, confirm the element is actually the fault. Two symptoms point straight at it: no heating at all despite power reaching the geyser, or a geyser that trips the MCB or ELCB the moment it switches on.
A dead element usually means the internal filament has burned through, so it no longer conducts. A leaking element means the sheath has cracked and current is escaping to the earthed tank body, which is what trips your earth-leakage device. Both are element failures, just different ones.
The clean way to confirm is a multimeter test with the power off and the element wires disconnected. Across the two element terminals you want a low, steady resistance; from either terminal to the bare tank body you want an open circuit. A reading to the body means it is leaking and must be replaced. If you are unsure whether the fault is the element or the thermostat sitting next to it, work through the checks in our round-up of what to do when your geyser is not working first.

Buy the Right Replacement Element
This step decides whether the repair lasts. A geyser element is not one-size-fits-all, and fitting the wrong one is the mistake I see most often after a botched DIY attempt.
What to match
- Wattage: Match the original, usually 1500W or 2000W on domestic storage geysers. A higher wattage draws more current than your wiring and MCB were sized for.
- Voltage: 230V single-phase for standard Indian homes.
- Flange type and size: Elements mount either on a threaded boss or a bolt-on flange. The diameter and bolt pattern must match exactly, or it will never seal.
- Material: Copper elements heat well but scale faster in hard water; incoloy or titanium-coated elements resist scale better and are worth it if your water is hard.
The surest approach is to remove the old element first, take it to the shop, and buy a like-for-like replacement. Note the model number on your geyser’s rating plate too. Genuine BIS/ISI-marked elements cost a little more than loose-market ones but fail far less often; on a device that sits full of water beside mains power, that is not where I economise.
One detail people overlook is the length of the element. Even with the right flange and wattage, an element that is too long can foul the far wall of the tank or the anode rod, and one that is too short may sit high in the water where scale collects fastest. If you cannot bring the old element to the shop, measure its length from under the flange head to the tip and take that figure with you. A photograph of the flange face, showing the bolt pattern and terminal layout, saves a wasted trip more often than not.
Tip: Buy a fresh flange gasket at the same time as the element, even if the old one looks fine. A cheap rubber gasket is the single most common cause of a slow leak after an element swap. Never reuse a compressed old seal.
Tools and Materials You’ll Need
Gather everything before you start so you are not hunting for a spanner with the tank half-drained. A basic kit covers most storage geysers.
- Matching replacement element and a new gasket
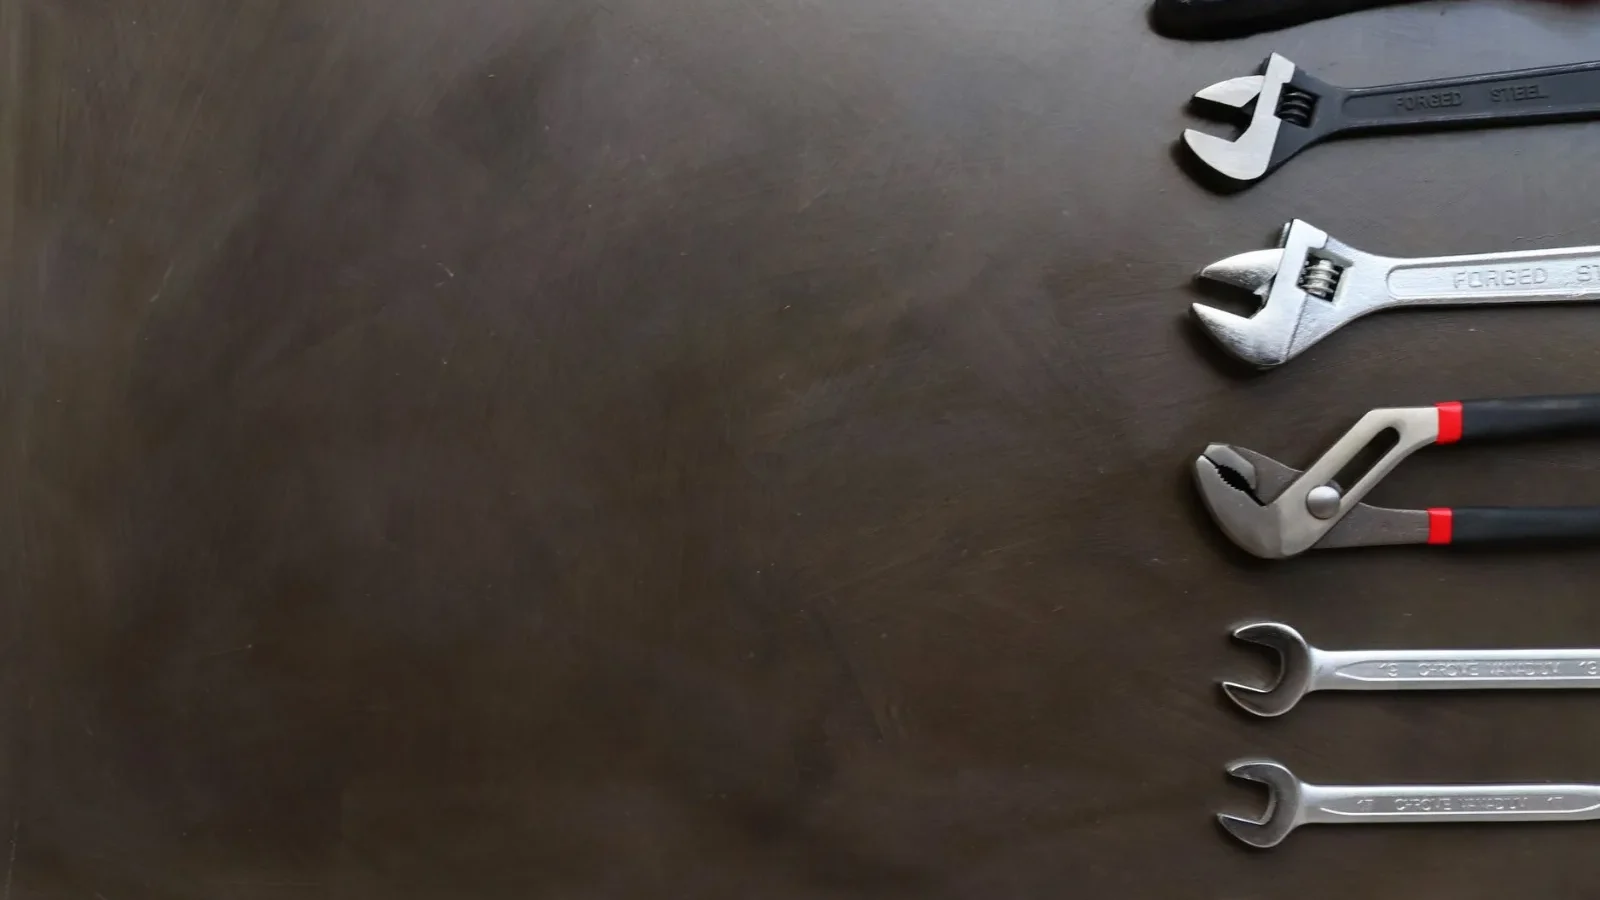
- Adjustable spanner or the correct box spanner for the flange nut
- Screwdrivers (flat and Phillips) for the connection cover and wiring
- A multimeter to confirm the fault and test the new fit
- A tester or non-contact voltage pen to confirm the point is dead
- Bucket, old towels and a hose for draining
- Plumber’s PTFE tape for threaded elements, and a wire brush for scale

Step-by-Step: Replacing the Element Safely
Work through these in order and do not skip the isolation and draining steps. This is the heart of the job, and the sequence exists to keep you safe and dry.
- Isolate the power. Switch off the geyser’s dedicated MCB at the distribution board, not just the wall switch. Confirm the connection point is completely dead with a tester before touching anything.
- Cut the water and drain the tank. Close the cold-water inlet valve. Open a hot tap to release pressure, then drain the tank fully through its drain valve or by disconnecting the outlet into a bucket. Do not proceed until water has stopped flowing.
- Open the connection cover. Remove the cover under the tank, photograph the wiring for reference, then disconnect the supply wires and the thermostat leads from the element terminals.
- Remove the old element. Loosen the flange nut or bolts and withdraw the element slowly. Expect a little trapped water and a lot of scale. Keep the bucket ready.
- Clean the seat and tank. Wipe the flange seat clean, scrape loose scale from inside the tank mouth, and inspect the anode rod while you have access.
- Fit the new element. Seat the new gasket, insert the new element straight, and tighten evenly to a firm, even seal, not gorilla-tight, which can crack the flange.
- Reconnect the wiring. Reconnect exactly as photographed, ensuring the earth wire is firmly attached to the tank body. A loose earth here is dangerous.
- Refill completely. Close the drain, open the inlet, and let the tank fill until water runs air-free from the open hot tap. Only a full tank is safe to heat.
- Restore power and test. Switch the MCB back on, let the geyser heat one cycle, and check the flange for any weeping. Confirm the MCB and ELCB hold.
Warning: Energising a dry or half-full tank will destroy a brand-new element in minutes and can crack the tank. Always confirm a smooth, air-free flow of water from an open tap before you switch the MCB back on. If in any doubt, wait longer, not less.
Copper vs Incoloy Elements for Hard Water
Since scale is what kills most elements in India, the material you choose affects how long the repair lasts. Here is the honest comparison I give customers.
| Element type | Scale resistance | Relative cost | Best for |
|---|---|---|---|
| Copper | Lower; scales faster | Cheapest | Soft-water areas, tight budgets |
| Incoloy | Higher; handles heat and scale well | Moderate | Most hard-water homes |
| Titanium- or glass-coated | Highest | Priciest | Very hard water, long service life |
If your area has hard water, spending a little more on an incoloy element usually pays for itself by outlasting two cheap copper ones. Whatever you fit, the real longevity comes from regular descaling, which stops scale from insulating and overheating the element in the first place.
While the tank is open and drained is also the ideal moment to check the sacrificial anode rod. The anode is a metal rod that corrodes in place of your tank, protecting it from rust; on hard or aggressive water it can be eaten away in a couple of years. If it is heavily consumed, replacing it now, while everything is apart, saves you a second drain later and adds years to the tank. Doing the element and the anode together is simply good use of the effort you have already spent draining the geyser.

When to Stop and Call a Professional
I encourage careful DIY on this job, but I hold firm lines, and you should too. Certain situations are qualified-hands work, not weekend work.
- The earth wire is missing, corroded, or you cannot confirm the geyser is properly earthed.
- The flange is seized or corroded and will not budge with reasonable force.
- The tank itself is leaking, not just the element seat; a leaking tank is usually a replacement, not a repair.
- The fault traces back to the fixed wiring or the MCB rather than the appliance.
- You are simply not comfortable working near mains electricity and water.
There is no shame in it. I have seen a small element job turn into a much larger bill because someone forced a seized flange and cracked the tank. Knowing your limit is part of doing the job well. A tripping geyser in particular can be an appliance fault or a wiring fault, and telling them apart is a real skill; one reader’s account of exactly that lives in our story on how a tripping geyser problem was fixed.
Frequently Asked Questions
How do I know which wattage of element to buy?
Read it off the old element or the geyser’s rating plate, usually 1500W or 2000W for domestic storage geysers. Match it exactly. A higher-wattage element draws more current than your wiring and MCB were sized for, which can trip breakers or overheat the connection point over time.
Do I really need to drain the whole tank to change the element?
Yes. The element sits below the water line inside the tank, so opening the flange on a full tank floods the connection area and the floor. Close the inlet, release pressure at a hot tap, and drain fully through the drain valve before you loosen anything.
Why did my new element fail so quickly?
The two usual reasons are energising a tank that was not fully refilled, which burns the element out in minutes, or heavy hard-water scale that overheats it. Always confirm air-free water flow before switching on, and descale regularly. Fitting a mismatched or poor-quality element also shortens its life.
Can I replace the element without an electrician?
A confident DIYer can, provided you switch off at the MCB, confirm the point is dead, drain the tank, and reconnect the earth firmly. But if the earthing is doubtful, the flange is seized, or the fault may be in the fixed wiring, call a licensed technician rather than forcing it.
How often do geyser elements need replacing?
It varies widely with water hardness and usage. In soft-water areas an element can last many years; in hard-water areas heavy scale may kill one in two to three years. Regular descaling is the single biggest factor in extending element life, far more than the brand you buy.
Get It Right the First Time
Replacing a geyser heating element is a rewarding repair when you approach it in the right order: confirm the fault, buy the exact match, isolate the power, drain the tank, and never energise until it is full. Do that, and you will have hot water back for the cost of an element and an afternoon. Do it in a hurry, and you risk a ruined element or worse.
For the full range of geyser faults and fixes, browse our repairs library, and if you want to understand the science of why the sheath fails, this overview of heating elements is a clear, honest read. When in doubt, isolate, drain, and if the doubt remains, call a pro.