
Key Takeaways
- I fitted my own 25 L storage geyser over a weekend and it works fine, but I made three avoidable mistakes I want to save you from.
- The mounting and plumbing were genuinely doable; underestimating the weight of a filled tank was my first hard lesson.
- I did the wiring wrong at first, ran it off a spur without a proper earth, and paid an electrician to redo it. Do not copy that.
- Filling the tank fully before switching on is the single rule I nearly broke, and it would have cost me the element.
- If I did it again, I’d DIY the bracket and pipes and book a licensed electrician from day one.
The quote to fit my new geyser felt steep for what looked like an hour’s work, so I decided to do it myself. I’d watched enough videos to feel confident, and honestly, the mounting and plumbing went better than I expected. What humbled me was the part I assumed would be easy: the electrical connection. This is the honest account of what happened when I installed my own geyser, the three mistakes I made, and what I’d do differently. By the end you’ll know exactly which parts a careful homeowner can own and which one I now insist people hand over. If you want the full technical picture first, our complete water heater installation guide lays out the whole job properly.
Why I Decided to DIY It
My old geyser had finally given up, streaking rust down the bathroom wall. The replacement I bought was a 25 L ISI-marked storage unit, glass-lined tank, five-star rated. A decent geyser.
The fitting quote I got was a flat charge on top of the geyser price, and the point and plumbing already existed from the old unit. That framing, “I’m basically swapping like for like”, is what convinced me I could handle it. I was half right.
I set aside a Saturday, laid out my tools on an old bedsheet, and told my wife it would be done by lunch. It was done by Sunday evening, with one trip to the hardware shop and one call to an electrician in between.
Mistake 1: I Underestimated the Weight
The empty geyser felt manageable, maybe 12 kg, so I reused the wall plugs and screws that came in the box. That was my first error. A 25 L tank holds 25 kg of water alone, and with the tank body you’re looking at close to 40 kg hanging off two points on your wall.
I mounted it, filled it, and watched one screw very slowly start to ease out of the plaster. My stomach dropped. I drained the tank, took it back down, and this time drilled fresh holes into solid masonry with heavy-duty anchor bolts rated for the load.
Warning: Never trust the light fixings that ship in the geyser box on a real wall. A filled tank pulling out of weak plaster can fall on someone. Drill into load-bearing masonry, not a hollow partition, and give the bracket a hard tug before you hang anything.
The Plumbing Went Surprisingly Well
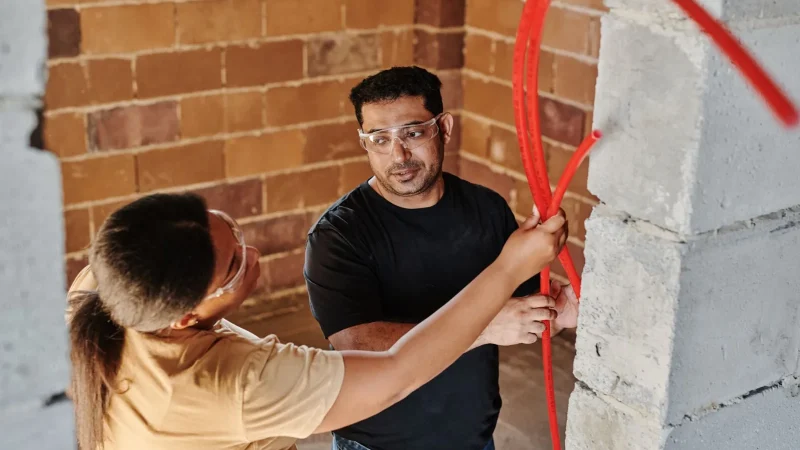
Here’s where DIY genuinely shone. The plumbing was slow but logical, and I’m glad I took my time.
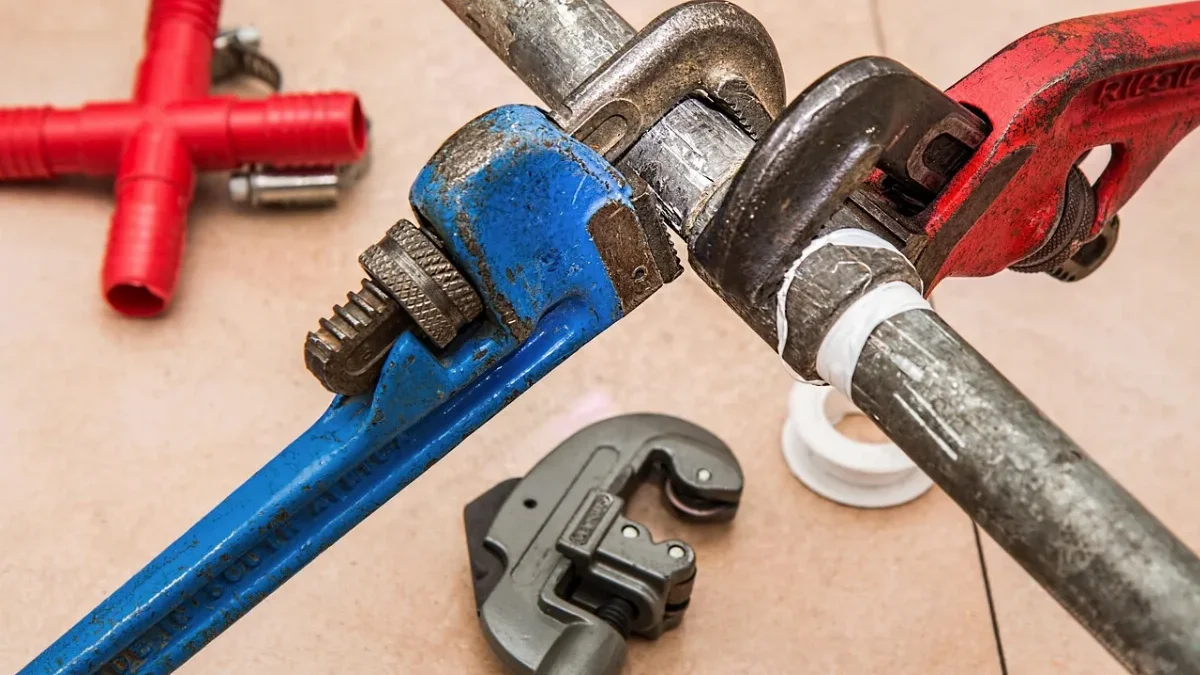
I wrapped every threaded connector in PTFE tape, three or four turns in the tightening direction, and kept the colours straight: cold mains to the blue inlet, hot line off the red outlet. I fitted the pressure relief safety valve on the inlet exactly as the manual showed, and ran a short drain pipe from it so any release would go to the floor drain and not onto anything below.
I hand-tightened first, then snugged each joint with a spanner, firm but not gorilla-tight. When I finally pressurised it, not a single joint wept. That was the proudest moment of the whole job, and it’s the part I’d tell any patient homeowner they can absolutely do. If you’re weighing this decision, our honest look at professional versus DIY geyser installation maps out exactly where each approach makes sense.
Mistake 2: I Got the Wiring Badly Wrong
This is the mistake I’m least proud of. The old geyser had been running off a spur near the bathroom, so I simply reconnected my new unit to the same wire. It heated water. I thought I was done.
What I hadn’t checked was the earth. When a friend who does electrical work came by, he put a tester on the geyser body and went quiet. The earth wire in that old point was connected to nothing useful, so my metal-bodied geyser, in a wet bathroom, had no working path to trip the ELCB if the element ever leaked current.
He was blunt with me: a geyser combines water, a heavy load and a bathroom, and that combination punishes exactly this kind of shortcut. I paid a licensed electrician to run a proper dedicated point the following week.
What the electrician actually did
- Ran a dedicated circuit for the geyser on a correctly rated MCB, not a shared spur.
- Used cable thick enough for the roughly 2 kW load, so nothing overheats.
- Connected and verified a genuine earth back to the building’s earthing.
- Confirmed an ELCB protected the circuit and press-tested it in front of me.
If you want to understand this stage properly before you start, read our step-by-step guide to installing an electric geyser, which spells out where the electrician’s work begins and why I now never cross that line myself.
Mistake 3: I Almost Switched On a Half-Full Tank
On the first fill, I was impatient. The tank sounded full, the manual mentioned bleeding air, and I nearly flicked the power on to “just check it heats”. My friend stopped me.
He made me open the hot tap and wait until water ran in a steady, air-free stream with no spitting. Only then was the tank genuinely full. Switching on a dry or half-full tank, he explained, can burn the heating element out within minutes and voids the warranty on the spot. That two-minute wait may have saved me a brand-new element.
Tip: The tank is only truly full when the hot tap runs a smooth, air-free stream. Any spitting or sputtering means trapped air and a partly empty tank. Wait it out every single time before you go near the power, even on a routine refill after draining.
What It Cost Me Versus the Quote
People always ask whether I actually saved money. Roughly, here’s how it shook out. These are illustrative figures from my job in a metro city; your numbers will differ.
| Item | Full-service quote | My DIY route |
|---|---|---|
| Mounting and plumbing labour | Included in fitting charge | My own weekend |
| Heavy-duty fixings and PTFE tape | Included | Bought myself (small spend) |
| Electrician for a proper earthed point | Included | Paid separately, after my mistake |
| My time and one wasted trip | None | A full extra day |
The blunt truth: once I had to bring in an electrician anyway, my saving shrank a lot. For a realistic breakdown of what fitting actually costs, see our deep dive on geyser installation cost in India, which is the guide I wish I’d read before starting.
Would I Do It Again?
Yes, but differently. I’d own the parts that rewarded patience and hand over the one that punished my confidence.
- DIY, confidently: marking and mounting the bracket, hanging the geyser with a helper, all the plumbing, and the fill-and-leak-check.
- Book a pro from day one: the dedicated circuit, the earthing, and the ELCB. No exceptions, not even for a “simple swap”.
- Never skip: filling fully before power, and giving the bracket a proper load-tested tug.
The geyser has run flawlessly since. But the peace of mind only arrived after the earthing was done right, and that’s the lesson I’d hand to anyone tempted to reuse an old point “because it worked before”.
Frequently Asked Questions
Can I install a geyser myself?
You can safely do the mounting, hanging and plumbing yourself if you’re patient and use heavy-duty fixings on a load-bearing wall. But the wiring and earthing belong to a licensed electrician. That was my biggest lesson, reusing an old point with a dead earth is genuinely dangerous.
What is the most common DIY geyser installation mistake?
In my experience it’s the earthing. People reuse an old power point that looks fine but has no working earth, leaving a metal geyser in a wet bathroom with nothing to trip the ELCB. Underestimating the filled tank’s weight and using the flimsy box screws come a close second.
Do I really need an electrician if the old geyser worked?
Yes. An old point working doesn’t prove it’s safe, mine heated water perfectly while having no functional earth. A licensed electrician confirms a dedicated, correctly rated circuit with genuine earthing and a tested ELCB. That verification is exactly what a working-but-unsafe connection hides from you.
How long did it take to install my geyser myself?
I’d planned for a morning; it took most of a weekend. The mounting redo, one hardware-shop trip, and waiting for the electrician stretched it out. A skilled pair with the point and plumbing already in place can genuinely do it in a couple of hours, first-timers should not expect that.
Did installing my own geyser actually save money?
Less than I hoped. Once I had to pay an electrician separately to fix the earthing I’d botched, the gap between DIY and a full-service quote narrowed a lot. If your electrical point is old or unverified, budget for a pro from the start rather than after a scare.
The One Thing I’d Tell My Past Self
DIY the muscle work, respect the electricals. If I could go back, I’d have booked the electrician for the same afternoon I mounted the tank, instead of assuming an old point was good enough. The plumbing pride was real; the earthing shortcut was the one that could have hurt someone.
If you’re planning your own install, walk through our full library of installation guides first, and lean on the complete installation guide for the technical detail. To understand why the earthing matters so much, the Wikipedia explainer on residual-current devices is a clear, honest read.