Key Takeaways
- You can fit a geyser with about nine core tools, most homes already own half of them.
- The two you must not skimp on are a hammer drill with masonry bits and a line tester or multimeter; they cover the load-bearing and life-safety parts of the job.
- Buy the consumables fresh every time: Teflon tape, a new safety valve and, ideally, new flexible connectors.
- If you do not own a hammer drill, renting one for a day is far cheaper than a bad hole in an RCC wall.
The single biggest reason a DIY geyser fitting goes sideways is not skill, it is showing up with the wrong tools and improvising. I have watched people try to drill an RCC wall with a wood bit, seal joints with a spare bit of insulation tape, and test a “dead” point with a wet finger. None of that ends well. The good news is the real kit is short and mostly affordable. By the end of this list you will know exactly which nine tools to lay out before you start, why each one earns its place, and where it is worth spending a little more.
This pairs with our full water heater installation guide, read that for the method, and use this to pack your bag before the job.
The 9 tools you actually need
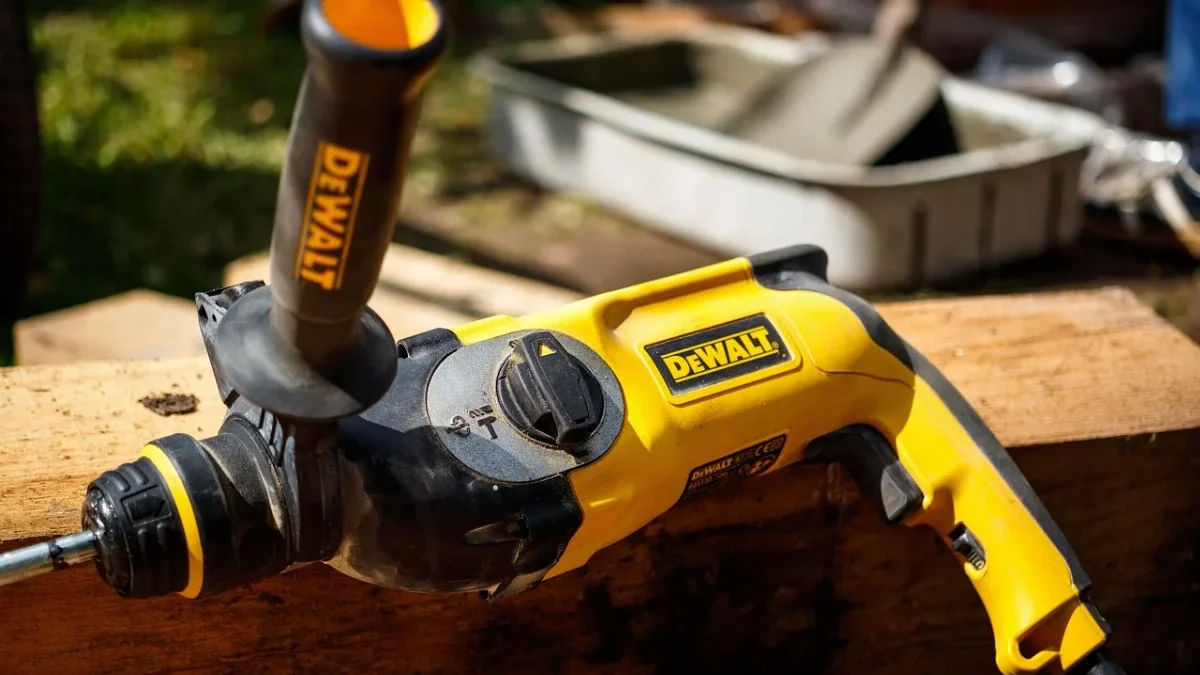
1. Hammer drill with masonry bits
This is the tool that makes or breaks the mounting. A plain drill will not bite into concrete, and a full geyser hanging from a shallow, wallowed-out hole is a genuine hazard. Get a hammer drill and a set of good masonry bits sized to your wall anchors. If you do not own one, rent it for the day.
Match the bit to the wall: a 6 mm bit for small brick-wall plugs, up to 10-12 mm for the sleeve or chemical anchors a heavier tank needs. Keep the bit square to the wall and let the hammer action do the work, leaning on it only overheats the tip and widens the hole.
2. Line tester and multimeter
The line tester (test screwdriver) confirms whether a point is live before you touch it. A multimeter goes further, checking earth continuity, element resistance and whether the thermostat is working. For any electrical geyser, treating these as optional is how people get hurt.
A basic ₹300 tester covers the go/no-go safety check; a ₹800, ₹1,200 multimeter earns its keep the first time it tells you whether a dead geyser is a burnt element or a tripped thermostat, saving a service call. If you own only one, own the tester, but the meter pays for itself fast.
Warning: Always switch off the geyser’s MCB and confirm the point is dead with a tester at the terminals before touching any wiring. A switch in the “off” position does not guarantee a dead circuit if the point was wired wrongly.
3. Adjustable spanner and pipe wrench
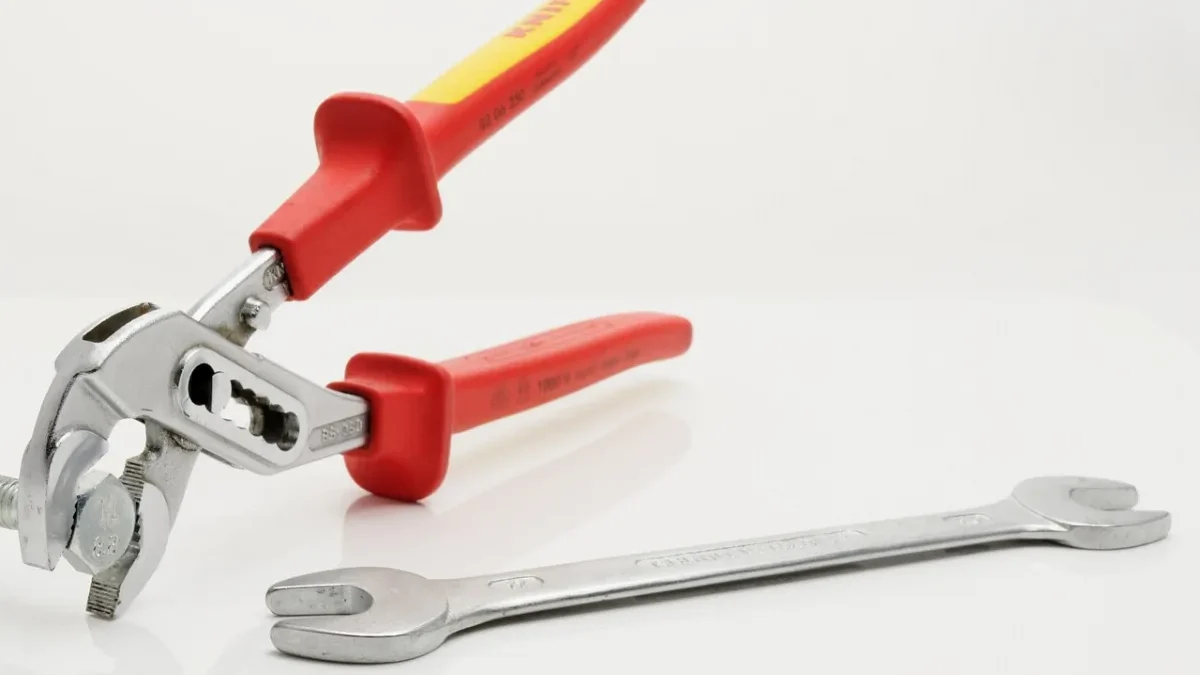
You need two gripping tools working together on the plumbing: one to hold the fitting steady, one to turn the union. Turning a joint with a single wrench twists the wall pipe and starts hidden leaks. A medium adjustable spanner plus a pipe wrench handles almost every geyser union.
4. Screwdriver set (star and flat)
For the terminal cover, wire clamps and bracket screws. A small insulated set is best around electricals. Insulated handles are a cheap upgrade that add a real margin of safety when you are near live-capable terminals.
5. Spirit level
An unsung hero. A geyser mounted even slightly off-level drains poorly and can stress the tank and valve. A small torpedo level laid on the bracket takes ten seconds and prevents a lifetime of a crooked, dribbling unit.
6. Measuring tape and pencil
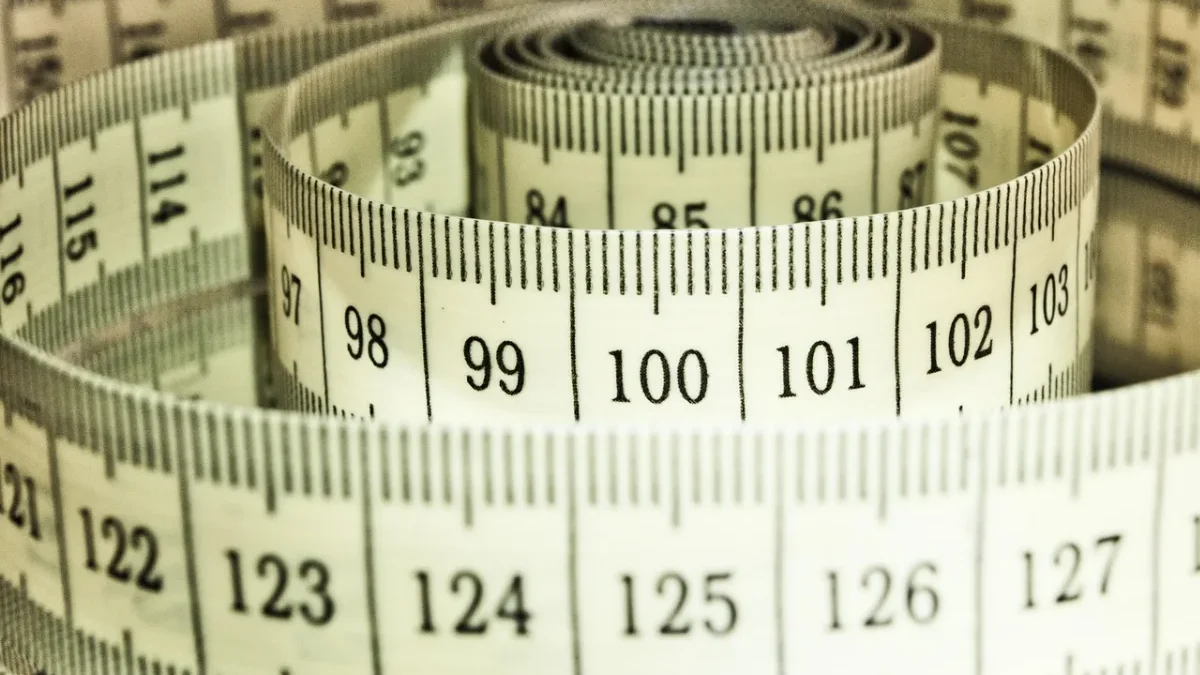
To mark hole positions, set the mounting height, and keep the bracket square. “Measure twice, drill once” is doubly true on a tiled wall where a wrong hole is permanent.
7. Teflon (PTFE) tape
The cheapest item on this list and the one that stops most leaks. Wrap three to four clockwise turns on every threaded joint, inlet, outlet and the safety valve. Always use fresh tape; reused, grubby tape does not seal.
8. Wall anchors and screws
These carry the whole load, so match them to your wall, plugs for brick, sleeve anchors for concrete, chemical or toggle anchors for hollow block. Sizing them for a full tank is a topic in its own right; our guide to geyser mounting brackets and wall fixings breaks down exactly what suits each wall.
9. New safety valve and flexible connectors
Not a “tool” as such, but part of every install kit I pack. A fresh pressure relief valve and new flexible hoses cost little and prevent the two most common post-install callbacks, a seized valve and a perished, leaking hose.
Quick reference: tool, job and rough cost
| Tool | What it does | Own or buy? | Rough cost |
|---|---|---|---|
| Hammer drill + bits | Drilling anchor holes | Buy or rent | ₹2,000, ₹5,000 (rent ₹300, ₹600/day) |
| Line tester + multimeter | Confirming dead circuit, checks | Buy | ₹300, ₹1,200 |
| Adjustable spanner + pipe wrench | Plumbing unions | Own/buy | ₹400, ₹900 |
| Screwdriver set (insulated) | Terminals, clamps, screws | Own/buy | ₹200, ₹600 |
| Spirit level | Levelling the bracket | Own/buy | ₹150, ₹500 |
| Teflon tape | Sealing threads | Buy fresh | ₹20, ₹50 |
| Wall anchors + screws | Bearing the load | Buy fresh | ₹50, ₹300 |
| Safety valve + hoses | Pressure relief, connections | Buy fresh | ₹200, ₹700 |
Prices swing by city and brand, so treat these as ballpark. If you already own the drill and basic hand tools, a first install often costs only a few hundred rupees in consumables.
Tip: Lay every tool and consumable out on a towel before you cut the water and power. Nothing is worse than searching for a spanner with a half-drained tank dripping down the wall.
What you can skip, and what you cannot
Marketing will sell you a “50-piece plumbing kit,” but most of it never touches a geyser. You do not need a fancy torque wrench, a pipe threader, or a big tool chest for a straightforward fitting.
What you cannot skip are the two safety-critical categories: the drilling gear that holds the tank on the wall, and the electrical testers that keep you from working on a live point. Everything else is convenience; these two are the difference between a safe install and an accident waiting to happen. On my very first solo job years ago, I under-bought on drill bits and had to stop halfway to fetch the right size, a small lesson that pack fully or do not start.
If, after reading this, the electrical side makes you uneasy, that is a perfectly sensible signal. Weigh it honestly with our comparison of DIY versus professional geyser installation before deciding.
The order you actually use them in
Having the tools is one thing; reaching for them in the right sequence keeps the job smooth and safe. Here is roughly how they come out of the bag on a real fitting.
- Line tester first. Before anything else, confirm the point is dead. This tool leads every job involving an electric geyser.
- Tape and pencil next. Measure the mounting height, mark the bracket holes, and check them against the tank’s fixing centres.
- Spirit level. Confirm your marks are truly level before a single hole is drilled.
- Hammer drill. Drill to full anchor depth, then blow or brush the dust from each hole.
- Anchors and screwdriver. Seat the anchors, bolt the bracket, and hang the tank.
- Teflon, spanner and pipe wrench. Wrap threads, then connect the safety valve and hoses, holding one fitting while you turn the other.
- Multimeter last. Once filled and before powering up, a quick earth-continuity check confirms the install is safe to switch on.
Notice the electrical testers bookend the job, one to make it safe to start, one to confirm it is safe to finish. That habit, more than any single tool, is what separates a tidy install from a risky one.
Frequently Asked Questions
What tools do I need to install a water heater?
The core kit is a hammer drill with masonry bits, a line tester and multimeter, an adjustable spanner and pipe wrench, screwdrivers, a spirit level, measuring tape, Teflon tape, wall anchors, and a fresh safety valve with flexible hoses. Most homes already own several of these.
Do I really need a hammer drill for a geyser?
For brick or concrete walls, yes. An ordinary drill cannot bite into masonry cleanly, and a full geyser needs anchors set in deep, sound holes. If buying one is not worth it, hardware shops rent hammer drills by the day for a few hundred rupees, which is far cheaper than a failed fixing.
Is a multimeter necessary or is a line tester enough?
A line tester alone confirms whether a point is live, which is the bare minimum for safety. A multimeter adds real value by checking earth continuity, element resistance and the thermostat. For any electric geyser install or fault-finding, having both is well worth the modest cost.
Can I reuse the old safety valve and hoses?
It is a false economy. Safety valves calcify and seize, and old flexible hoses perish and leak. Both are inexpensive, so fit new ones with every install. In my experience, reusing these two parts is behind a large share of post-installation leaks and callbacks.
How much do geyser installation tools cost in total?
If you must buy everything, expect roughly ₹3,000-₹8,000, with the hammer drill being the biggest item. If you already own hand tools and a drill, a single install costs only a few hundred rupees in consumables like Teflon tape, anchors and a new valve.
The bottom line
A geyser install does not need a garage full of gear, just nine well-chosen tools, packed fully before you start. Spend where it matters (the drill and the testers), buy the consumables fresh, and skip the gimmick kits. Ready to put the kit to use? Walk through the whole process in our installation guides, or read up on the fundamentals of water heating before you begin.