Key Takeaways
- An isolation valve on the cold inlet lets you shut off a single geyser for service without draining the whole house.
- Fit a good brass ball valve, not a cheap plastic one, and place it where a hand can reach it easily.
- The valve goes on the cold inlet line, close to the geyser, before the safety valve, so the tank stays under mains pressure only when you want it.
- PTFE tape, a proper spanner and a slow pressure test are all it takes to fit one without a leak.
- Never confuse the isolation valve with the pressure safety valve. They do completely different jobs.
Ask any plumber which small part saves the most hassle over a geyser’s life, and most of us will say the humble isolation valve. It is the little tap on the cold inlet that lets you cut water to just that heater, so a leak, a service or an element change does not mean shutting off water to the entire flat. When I fit a geyser as part of a full water heater installation, this valve goes in every single time.
Yet it is the part builders skip most to save fifty rupees. Below I will show you what it does, which type to buy, exactly where it sits, and how to fit one cleanly.
What an Isolation Valve Actually Does
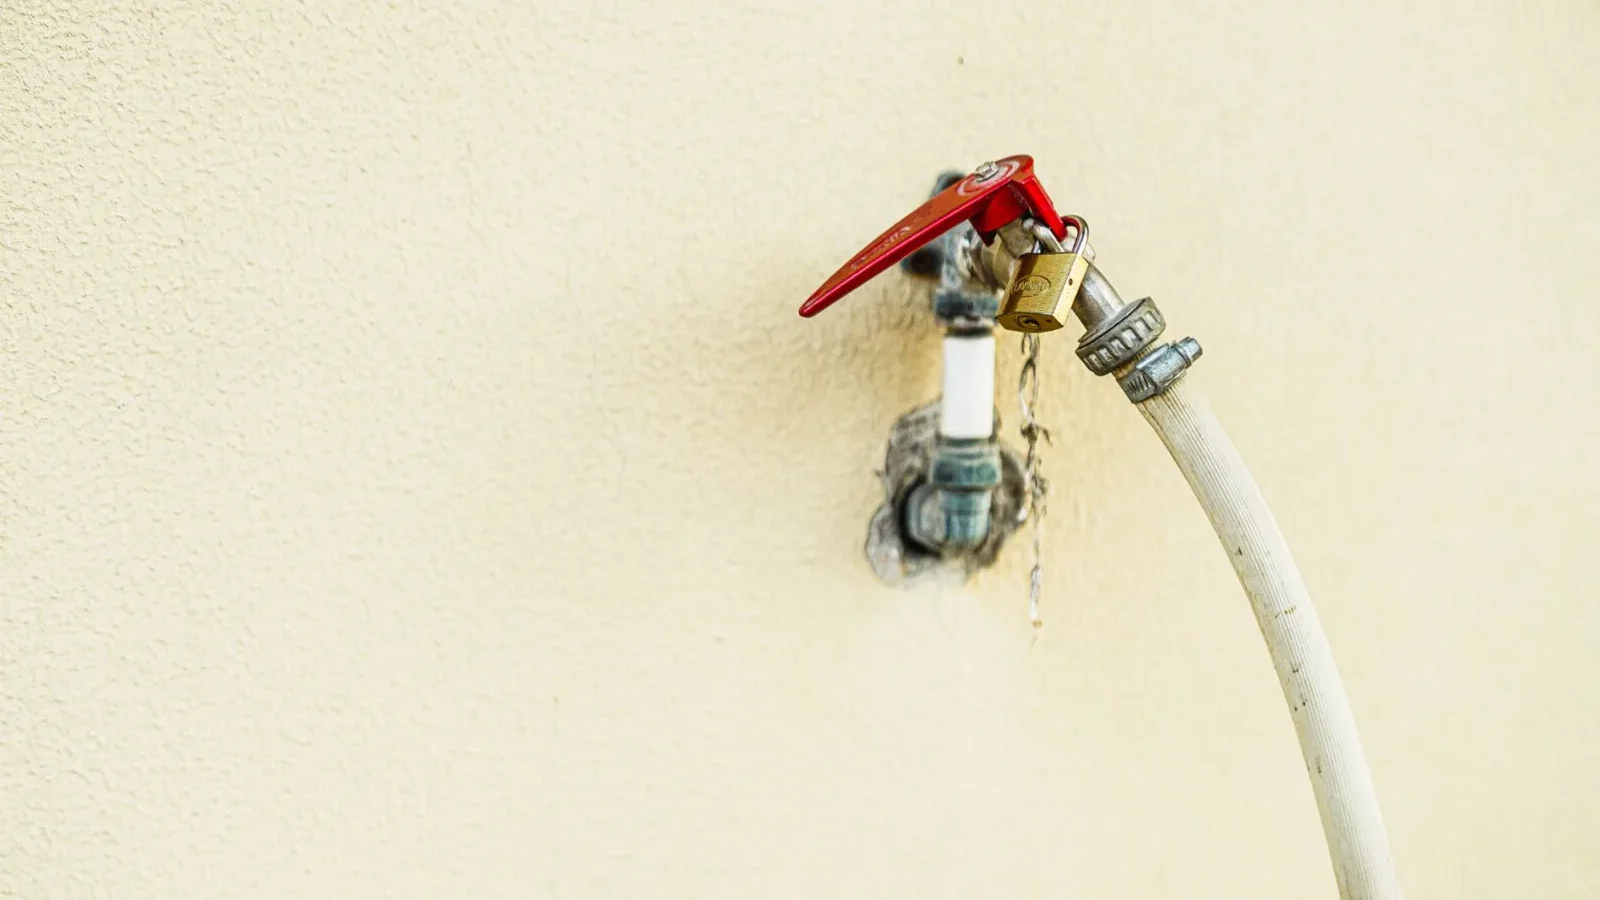
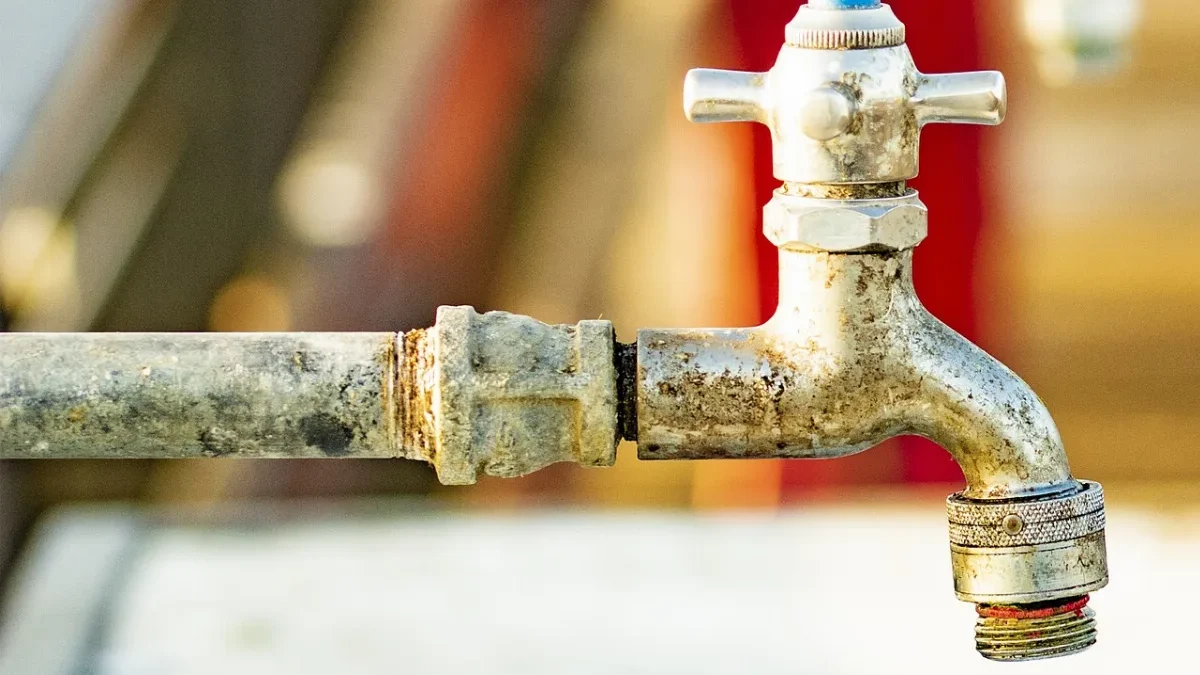
An isolation valve, sometimes called a stop valve or shut off valve, does one simple thing: it stops water flow on that one line when you close it. On a geyser, it sits on the cold water feeding into the tank.
Close it, and no fresh water enters the geyser. That means you can open the tank, unscrew a fitting, or swap a part without water gushing out of the mains and without running to the terrace to shut the main house valve.
People mix this up with the pressure safety valve, so let me be clear about the difference, because it matters.
| Part | Job | You operate it? |
|---|---|---|
| Isolation / stop valve | Manually shuts off cold water to the geyser | Yes, by hand when needed |
| Pressure safety valve | Automatically releases excess pressure if the tank overheats | No, it acts on its own |
Both belong on a proper install. The isolation valve is for you. The safety valve is for the tank’s protection. Never treat one as a substitute for the other.
Choosing the Right Valve
Not all valves are equal, and this is a spot where a few extra rupees genuinely pays off. I have replaced far too many seized, cracked plastic valves that failed exactly when the homeowner needed them.
- Brass ball valve: my default. A quarter-turn lever, tough body, and it survives years of hard water. Look for a solid, heavy feel.
- Gate valve: the older round-wheel type. It works, but the internal seat wears and can start seeping or seizing over time.
- Plastic (PP/CPVC) valve: fine on cold lines in soft water, but I avoid it right at a hot appliance where heat and stress build up.
Match the valve size to your inlet pipe, commonly 15 mm (half inch) for a domestic geyser. Buy from a known brand rather than the cheapest loose piece in the box, because this is the one part you want working on the day something goes wrong.
Tip: Buy a lever-handle brass ball valve and mount it so the lever swings freely. In an emergency you want to shut it in one quarter turn, in the dark, with wet hands, without hunting for which way a wheel turns.
Where the Valve Goes on the Line
Placement is half the value of an isolation valve. Put it in the wrong spot and it is useless when you need it, or you cannot reach it at all.
- Fit it on the cold water inlet, the blue side feeding the tank, not on the hot outlet.
- Keep it close to the geyser so shutting it isolates only that unit.
- Position it where a standing adult can reach and turn it without a stool or a stretch.
- Leave a little clearance around the lever so it swings a full quarter turn.
The order along the inlet is straightforward: mains cold pipe, then the isolation valve, then the safety valve, then into the tank inlet. That way closing the isolation valve cuts pressure to the tank and its safety valve together, which is exactly what you want during service.
I fitted a geyser for a family in a second-floor flat where the previous plumber had buried the stop valve behind the tank, flush to the wall. Nobody could turn it. When the element failed, they flooded the bathroom before reaching the main line. We moved the valve to the front, reachable in a second, and the difference in peace of mind was obvious.
Fitting the Valve Step by Step
This is a job a careful DIYer can handle on the plumbing side, as long as the water is off first. Take it slow and test properly.
- Shut the main house water supply and open a tap to release pressure in the line.
- Cut or unthread the inlet at the point you want the valve, keeping the run clean and square.
- Wrap the male threads in PTFE (Teflon) tape, five or six firm turns in the direction the fitting tightens.
- Hand-tighten the valve on, then snug it with a spanner. Firm, not brutal, or you crack the fitting.
- Note the flow direction if the valve is marked, and set the lever so its open and closed positions are obvious.
- Turn the mains back on with the valve open, then check every joint under full pressure for any weep.
Once fitted, test the whole point of it: close the valve and confirm the geyser inlet genuinely stops. Open a hot tap and the flow should die away as the tank stops refilling. That confirms your isolation actually isolates.
Warning: Switch off the geyser at the MCB before you close the isolation valve for any length of time and drain the tank. Running the heating element in a tank you have emptied will burn it out within minutes. Water off, power off, in that order.
Common Mistakes and How to Avoid Them
The same small errors turn a five-minute fitting into a call-out. Watch for these.
- Fitting the valve on the hot outlet instead of the cold inlet, so it never truly isolates the feed.
- Choosing a cheap plastic valve that seizes solid in a year of hard water.
- Over-tightening and cracking the threaded joint, then chasing a slow leak for weeks.
- Hiding the valve where no hand can reach it in a hurry.
- Forgetting to power off the geyser before draining, and cooking the element.
Every one of these is easy to sidestep with a slow, checklist-driven fit. Our geyser installation checklist runs through the valves and joints alongside the rest of the job, and the wiring side is covered in our guide to installing an electric geyser.
When to Call a Plumber
Swapping or adding an isolation valve on an accessible line is within reach of a confident home fixer, provided the water is off and you test carefully. It is honest, simple plumbing.
Call a professional when the inlet is buried in a wall, when you are working in metal pipe that needs cutting and threading, or when the geyser has to come off to reach the joint. And if the valve sits close to the electrical connection, keep the power off and treat the area with respect. Ball valves themselves are covered by ordinary plumbing standards, and you can read the basics of how a ball valve works if you like understanding the part in your hand.
Frequently Asked Questions
Is an isolation valve the same as a safety valve?
No, and it is important not to confuse them. The isolation valve is a manual tap you close by hand to cut cold water to the geyser for service. The pressure safety valve acts automatically to release excess pressure if the tank overheats. A proper install has both, each doing its own job.
Which valve type is best for a geyser?
A brass ball valve with a lever handle is my default choice. It is tough, survives hard water, and shuts in a single quarter turn when you need it fast. Gate valves work but wear over time, and I avoid cheap plastic valves right at a hot appliance where heat and stress build up.
Where exactly should the isolation valve sit?
On the cold water inlet, close to the geyser, and reachable by hand without a stool. The order along the line is mains cold pipe, then the isolation valve, then the safety valve, then the tank inlet. That way closing it cuts pressure to the tank and safety valve together during service.
Can I fit an isolation valve myself?
Yes, if the inlet is accessible and you shut the main supply first. Wrap the threads in PTFE tape, tighten firmly but not brutally, then pressure test every joint. Call a plumber if the pipe is buried, needs cutting and threading, or if the geyser must be removed to reach the joint.
Why does my stop valve leak after I fit it?
Usually too little PTFE tape, tape wound the wrong way, or a joint tightened so hard it cracked. Undo it, clean the threads, wrap five or six firm turns in the tightening direction, and snug it up without forcing. Retest under full pressure. A clean joint should stay bone dry.
A Small Valve, A Big Difference
The isolation valve is the cheapest insurance on your geyser. It turns a flooded bathroom into a quick quarter turn, and a whole-house shutdown into a five-minute service. Fit a decent brass ball valve on the cold inlet, keep it where a hand can reach it, seal the joints properly, and test that it truly isolates.
If you are fitting out a geyser from scratch, walk through the whole job in our water heater installation guide, or browse the rest of our installation guides for the plumbing and wiring details around it. Small part, big peace of mind.